

Drywall is a common material used in constructing walls and ceilings due to its ease of installation and finishing. However, over time, it can incur damage from various factors such as accidental impacts, water damage, or wear and tear. This article focuses on drywall hole repair in Worcester, MA, providing a comprehensive guide on addressing these issues efficiently and professionally.
The Importance of Timely Drywall Repairs
Timely drywall repairs are crucial for maintaining your home or office’s structural integrity and aesthetic appeal. Holes and cracks in your drywall can compromise insulation, become entry points for pests, and devalue your property. By addressing these issues promptly, you can prevent further damage and save on more costly repairs down the line.
Common Causes of Drywall Damage
Understanding the common causes of drywall damage can help you identify potential issues early. These causes include:
- Accidental Impacts: Moving furniture, kids playing, or slamming doors can easily result in dents or holes in drywall.
- Water Damage: Leaks from pipes, roofs, or windows can cause drywall to soften, leading to cracks, holes, or even mold growth.
- Settling of the Building: Over time, a building’s natural settling can cause drywall to crack or shift.
- Poor Installation: Improper installation techniques can lead to weak spots in the drywall that are prone to damage.
Tools and Materials You Will Need
Before starting any drywall repair project, gathering all necessary tools and materials is important. Being well-prepared ensures the repair process goes smoothly and produces a professional finish. Here are some essential items you will need:
- Drywall panels
- Joint compound (also known as mud)
- Drywall tape
- Utility knife
- Sanding sponge or sandpaper (fine grit)
- Drywall saw
- Putty knife
- Screw gun or drill
- Screws and anchors
- Paint and primer
- Paintbrush or roller
Preparing the Area for Repair
Preparation is key to a successful drywall repair. Start by cleaning the area around the hole to remove any dust, debris, or loose drywall. If the hole is larger than a golf ball, you may need to cut out the damaged area to create a clean, manageable section for your repair. Use a utility knife or drywall saw to do this.
Next, check for any underlying issues that may have caused the damage, such as leaking pipes or structural weaknesses. Addressing these problems first will prevent further damage to your new repair.
Small Hole Repair (Less Than 1/2 Inch)
For small holes, such as those caused by nails or screws, you can use a simple patching technique. Follow these steps:
- Clean the Hole: Use a utility knife to remove loose or protruding drywall around the hole.
- Apply Joint Compound: Using a putty knife, apply a small amount of joint compound over the hole. Smooth it out so it is flush with the wall surface.
- Let it Dry: Allow the joint compound to dry completely. This typically takes around 24 hours.
- Sand the Area: Use fine-grit sandpaper or a sanding sponge to smooth out the patched area once dry.
- Paint: Apply a coat of primer followed by paint to match the surrounding wall.
Medium Hole Repair (1/2 Inch to 6 Inches)
Medium-sized holes require a bit more effort and a patch to ensure a seamless repair. Follow these steps for a professional finish:
- Cut a Patch: Use a piece of drywall that’s slightly larger than the hole. Cut it into a square or rectangular shape.
- Trace the Patch: Hold the patch over the hole and trace its outline with a pencil. Use a utility knife to cut along the lines, creating a clean opening for the patch.
- Attach the Patch: Place the patch into the opening and secure it with screws. Ensure the patch is level with the surrounding wall.
- Tape and Mud: Apply drywall tape around the edges of the patch. Use a putty knife to apply joint compound over the tape, feathering it out to blend with the existing wall.
- Sand and Paint: Once the joint compound is dry, sand it smooth and paint the area to match the wall.
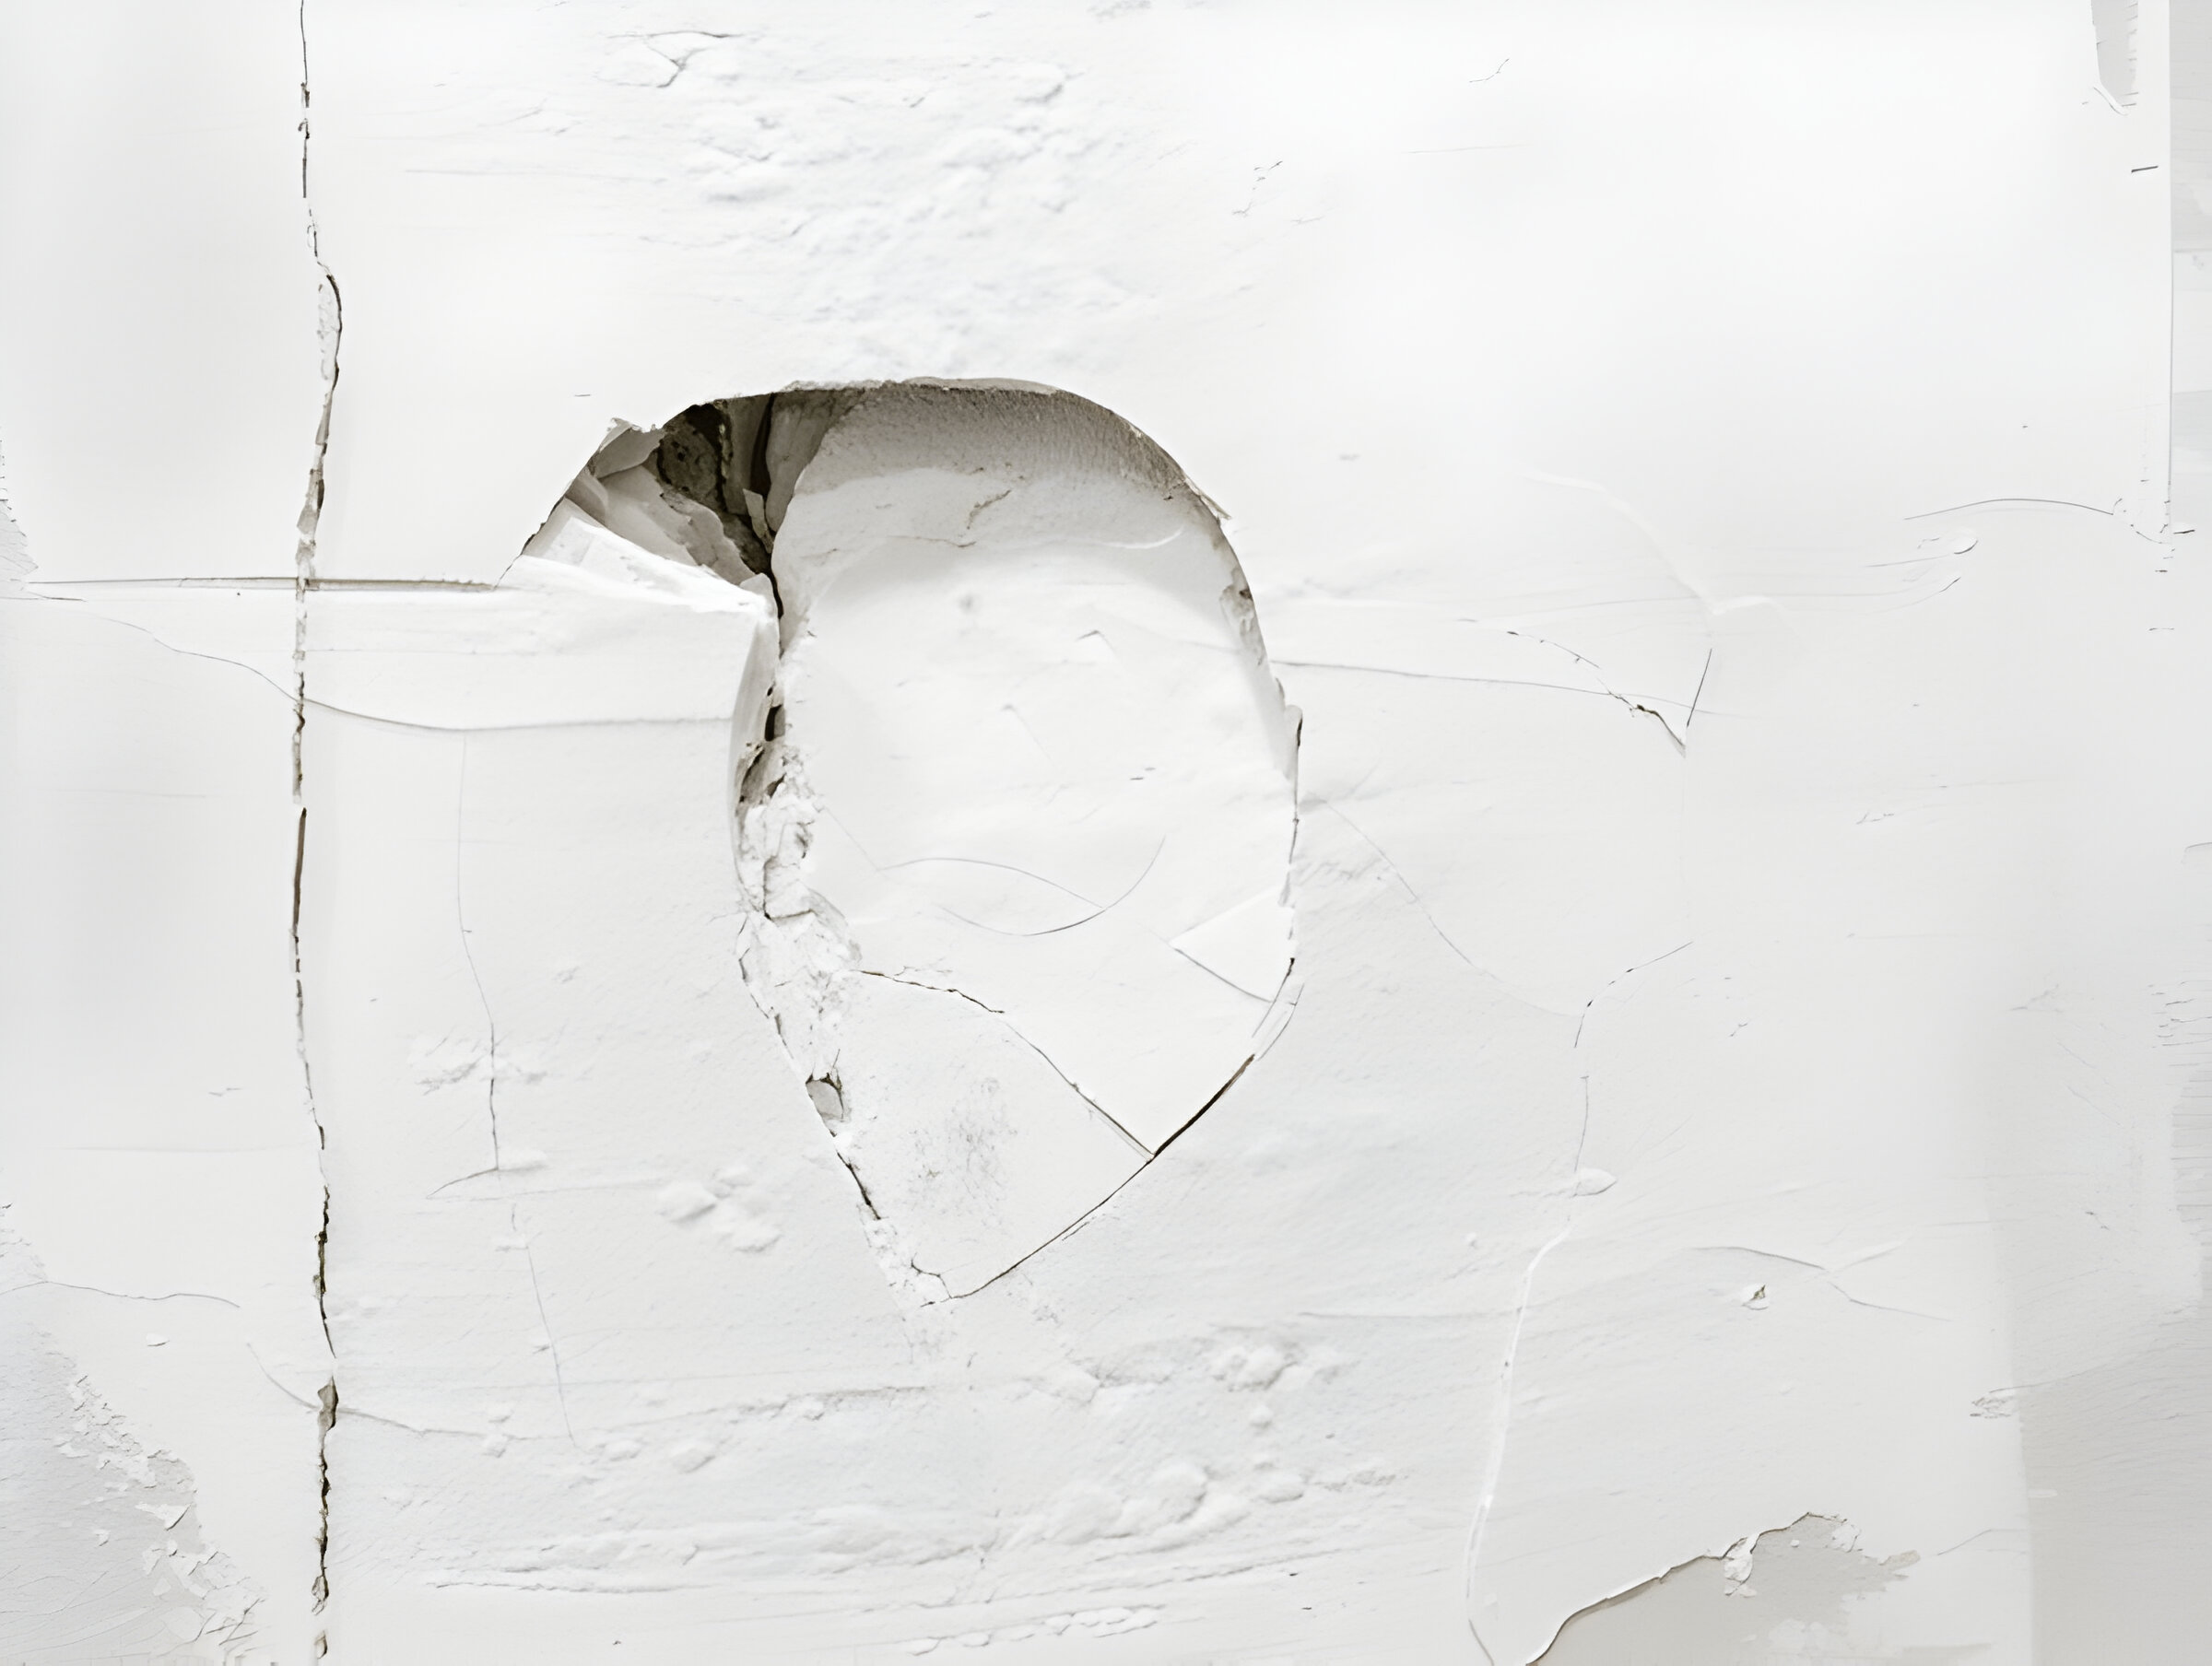
Large Hole Repair (More Than 6 Inches)
Large holes can be daunting, but with the right approach, you can achieve a seamless repair that looks professional. Follow these steps:
- Cut Out the Damaged Area: Use a drywall saw to cut a rectangular or square section around the hole. Ensure you cut back to the nearest stud to provide a solid anchor for your repair.
- Install Support: If the hole doesn’t span two studs, install a support piece behind the drywall. Use a piece of wood, such as a 1×2, and secure it with screws.
- Cut a New Piece of Drywall: Measure the hole and cut a new piece of drywall to fit the opening precisely.
- Install Drywall: Secure the new drywall piece in place using drywall screws. Make sure the screws are flush with the surface of the drywall without breaking through the paper layer.
- Tape and Mud: Apply drywall tape along the seams. Follow up with joint compound, feathering it out beyond the edges of the tape.
- Sand and Paint: After the joint compound completely dries, sand the surface until it’s smooth. Finish by priming and painting the area to match the surrounding wall.
Specialized Drywall Repair Techniques
Some scenarios demand specialized techniques, such as dealing with water damage, repairing textured drywall, or fixing holes in ceilings.
Water Damage Repair
Water damage needs immediate attention to prevent mold and structural deterioration. If you notice any discoloration, softness, or dampness in your drywall:
- Identify and Fix the Leak: Locate and repair the source of the water leak first.
- Dry the Area: Fans or dehumidifiers thoroughly dry the affected area.
- Remove Damaged Drywall: Cut away any drywall that has been compromised by water.
- Treat for Mold: Apply a fungicidal solution to prevent mold growth.
- Repair Drywall: Follow the steps outlined in medium or large hole repair, depending on the size of the damaged area.
Textured Drywall Repair
If your wall has a texture, you will need to replicate this texture on the repaired area to ensure it blends seamlessly:
- Repair the Hole: Follow the standard steps for repairing the hole.
- Apply Texture: Use spray texture in a can, texture rollers, or a textured compound to match the existing wall texture.
- Paint: Once the texture is dry, paint the area to match the surrounding wall.
Ceiling Hole Repair
Repairing holes in the ceiling follows similar steps as wall repairs, but it can be more challenging due to the overhead work. For ceiling repairs:
- Cut Out the Damaged Area: Use a drywall saw to create a clean opening around the hole.
- Install Support: Add support pieces behind the new drywall patch if necessary.
- Attach Drywall and Secure: Fix the new drywall piece with screws.
- Tape and Mud: Apply drywall tape and joint compound.
- Sand and Paint: Once dry, sand smooth and paint to match the ceiling.
Hiring a Professional Drywall Contractor in Worcester, MA
While many drywall repairs can be handled with a DIY approach, some situations may require professional assistance. Whether it’s due to the size of the repair, potential structural concerns, or lack of time and tools, a skilled drywall contractor can provide expertise and efficiency. Here are some tips for choosing the right professional for your drywall repair in Worcester, MA:
- Check Credentials: Ensure the contractor is licensed and insured.
- Experience Matters: Choose a contractor with significant experience in drywall repair.
- Get Multiple Quotes: Shop around for estimates to find a fair price.
- Read Reviews: Look for online reviews and ask for references.
- Inspect Past Work: View previous work samples to assess quality.
Conclusion
Repairing drywall holes doesn’t have to be a daunting task. With the right tools, materials, and techniques, you can achieve professional-level results when dealing with small, medium, or large holes. Remember, timely repairs not only improve the appearance of your home but also maintain its structural integrity. If you are over your head, don’t hesitate to hire a skilled professional to handle the job.
Do You Have Holes Or Cracks In Your Walls That Need Repairing?
Then click here to schedule an appointment with Worcester’s Drywall Repair Experts, Drywall Paint Plus!